CSS for Beginners Part 3 (Learn in a Fun way! 🎈)
Things we'll cover today: CSS Classes & CSS IDs


Heyy all! 👋🏻

This is Part 3 of the CSS for Beginners course...These are the previous parts! 👇
Getting Started! 👀
CSS Classes
So, as you all know that today we're gonna be learning about CSS Classes & CSS ID selectors!
Look at that! 👇

Explained with Code 👩💻
Let's understand CSS classes by taking a small example! 👇
<h1>Code Arena</h1>                                        <!--1st h1 tag -->
<h1>Max Programming</h1>                                   <!--2nd h1 tag -->
<p>Max Programming is a Wonderful youtube channel!</p>     <!--1st p tag -->
<p>Subscribe to Max Programming!</p>                       <!--2nd p tag -->
- So here we have a normal HTML code...And there are two h1 tags & two p tags!
OUTPUT:

You have to press CTRL + S to save it, Without pressing CTRL + S for saving It's not gonna work!
Now what if I wanna style the 1st H1 tag with a Red heading but I wanna keep the 2nd H1 tag as it is?
What if I do like this? 👇
h1{
    color: red;
}
- The output would be: 👇
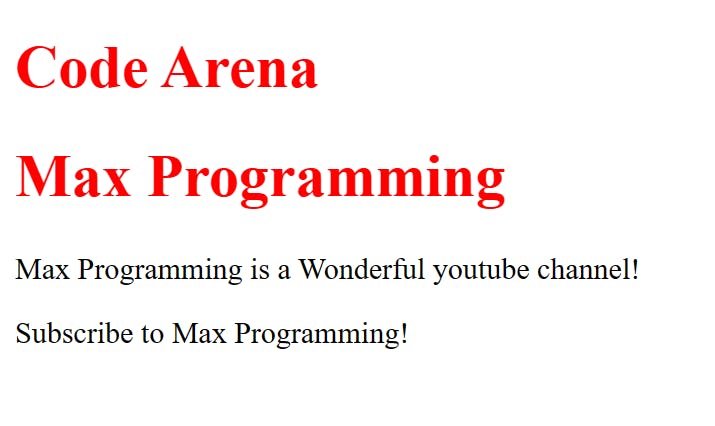
Here 👆 we have a problem it is applying to both the h1 tags...Because it doesn't know whether I want to style the 1st heading or the 2nd one!
I have a Solution for it! 💡
Here we can use the CSS classes!
How to use it?
Here is an example of an HTML code...Try to understand it! 👇
<h1 class="code-arena">Code Arena</h1>              <!--1st h1 tag -->
<h1 class="max-programming">Max Programming</h1>    <!--2nd h1 tag -->
<p class="wonderful">Max Programming is a Wonderful youtube channel!</p> <!--1st p tag -->
<p class="subscribe-channel">Subscribe to Max Programming!</p> <!--2nd p tag -->
You can give any name you want in the CSS classes...
Here 👆 I have written
<h1 class="code-arena">---This is a CSS class...To style CSS classes it is a must to put a
.dot before the class name...Now If I'll target like this in CSS --->
.code-arena{color: red;}Then guess what will be the output❓
Let's try it by doing it by code! 👇
.code-arena{
    color: red;
}
Output:
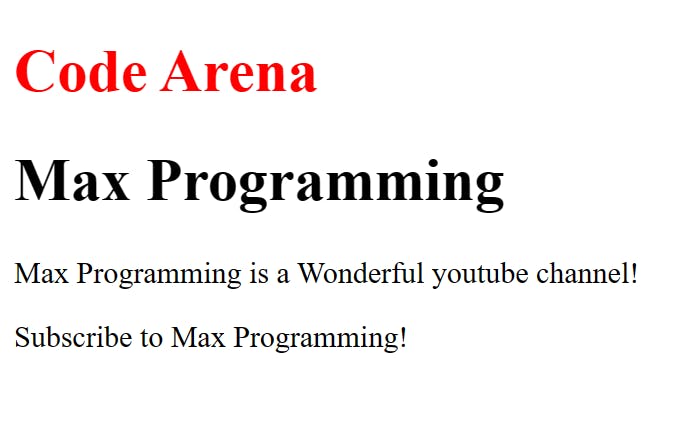
Yayy! you guessed it correctly! We did it! 🎉
EXPLANATION
So, first & foremost we have applied some CSS classes to all the tags in our HTML file by just writing like this...
<h1 class="code-arena">But why we are doing this?
Just Imagine that we're giving a name to a newborn baby so that everyone could identify it very easily!
Similarly, CSS classes are there I have given some unique names to my h1 tag so that the HTML and the CSS could easily identify whether I wanna style the first heading to the second one!
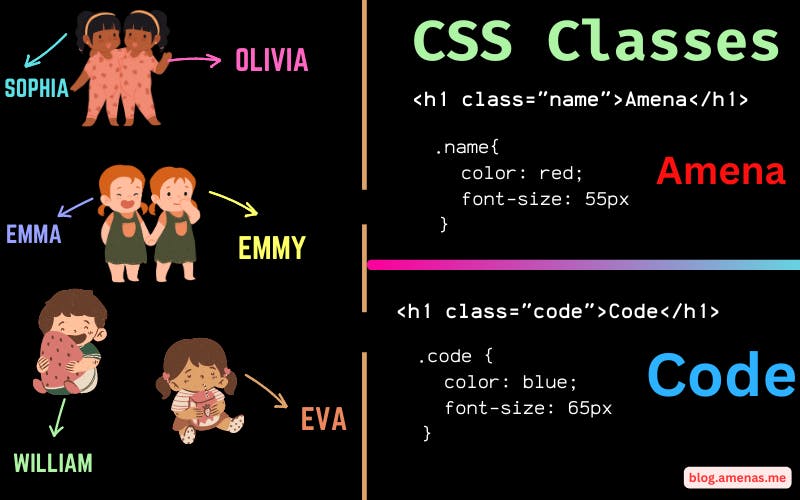
CSS Classes by Image! 🖼
See this Image it will be easy for you to understand this concept! 😉
Multiple Classes! 🤯
Okay! Now we're gonna learn about CSS Multiple classes...
Down here 👇 We have four buttons with the **same Background-color and with the same text color...**OfCourse with four
button tags!But the difference is that the text font, text weight and text size are not the same!

- Now, let's make these 👆 buttons with the same background color, the same text color and different Fonts, Weights and sizes...
Long cut code! 🪘
First I am gonna show you the Long cut and then the Short cut by using Multiple classes!
HTML Code! 👇
<button class="html">HTML</button>          <!--Button-1 class/name - html-->
<button class="css">CSS</button>            <!--Button-2 class/name - css-->
<button class="code">Code</button>          <!--Button-3 class/name - code-->
<button class="coding">Coding</button>      <!--Button-4 class/name - coding-->

- So, I have made 4 buttons up here 👆🏻 and given CSS classes to all of them, to style them...
CSS code here! 👇🏻
.html{
    background-color: black;
    color: pink;
    font-weight: bold;
}

.css{
    background-color: black;
    color: pink;
    font-family: cursive;
}

.code{
    background-color: black;
    color: pink;
    font-size: 25px;
}

.coding{
    background-color: black;
    color: pink;
    font-size: 10px;
}
EXPLANATION
FIRST BUTTON 🔳
First and foremost I have targeted the First Class which is
.htmlAfter that, I kept thebackground-color: black;andcolor: pink;...Filling colors is done!...Now the text is bold than others...Let's understand it 👇🏻
So, I have kept the
font-weight: bold;--- Basically, In CSS we can keep many of the font-weights like BOLD, BOLDER, LIGHT, LIGHTER and many more...
👇🏻
👇🏻
SECOND BUTTON 🔳
In the second button, I have targeted the Second Class which is
.cssAfter that, I kept thebackground-color: black;andcolor: pink;...Coz we have to make it the same...Filling colors is done!...Now the text font is different from others...Let's understand it 👇🏻
As you all know we use
font-familyto change the font...Easy 🥳
👇🏻
👇🏻
THIRD BUTTON 🔳
In the third button, I have targeted the Third Class which is
.codeAfter that, I kept thebackground-color: black;andcolor: pink;...Coz we have to make it the same...Filling colors is done!...Now the text size is Bigger than others...Let's understand it 👇🏻
To increase the text size we use
font sizeand I kept it for 25px...Easy! 🙌🏻
👇🏻
👇🏻
FOURTH BUTTON 🔳
In the fourth button, I have targeted the Fourth Class which is
.codingAfter that, I kept thebackground-color: black;andcolor: pink;...Coz we have to make it the same...Filling colors is done!...Now the text size is Smaller than others...Let's understand it 👇🏻
To decrease the text size we use
font sizeand I kept it for 10px...Easy! 🤘🏻
This is the LONG code...we haven't used Multiple classes yet...But now we'll use them!
Short-cut Code! 🍰
Now, we are gonna use MULTIPLE CLASSES to make the code short and sweet...🍩
HTML code by using Multiple classes! 👇🏻
<button class="btn html">HTML</button>
<button class="btn css">CSS</button>
<button class="btn code">Code</button>
<button class="btn coding">Coding</button>

First and foremost, I have made here 4 buttons...And then I have been given the same classes in all four of them and that is
btn...These are the Multiple classes!But Why do we do this?
Basically, in the long-cut formula, we have to set the
background: black;and thecolor: pink;in all four classes in the CSS file! Which takes lots of code and lines!To make it short and sweet we have taken here
btnyou can take any name...We'll just target
btnclass in CSS and then will set theebackground: black;and thecolor: pink;only once and it'll automatically be settled in all the buttons!
Let me show you how to style them! 🙌🏻
Common class --- btn code here! 👇🏻
.btn{
    background-color: black;
    color: pink;
}
The output of this code...👇🏻

- Yayy! Every button got the same color! With just one common class! 🥳
Let's move ahead and style the Fonts, Weights and Sizes!
CSS full code here! 👇🏻
 .btn{
    background-color: black;
    color: pink;
}

 .html{
    font-weight: bold;
}

.css{
    font-family: cursive;
}

.code{
    font-size: 25px;
}

.coding{
    font-size: 10px;
}
Output: 👇🏻

- And the rest you understood well! 🤘🏻
Classes vs IDs
The main difference between CSS classes and CSS IDs is that a class can be used on multiple elements on a webpage, while an ID can only be used on a single element.
CSS IDs
Now, you might wonder what are CSS IDs. Let's have a look! 👇
CSS IDs are mainly used for something special and some unique elements...
IDs are rarely used in CSS instead they are often used in JavaScript...
So, as you know CSS classes...Similarly, CSS IDs are there...The difference is that they are used for something very special and unique...😀
Explained with Code 👨💻
Let's see how it works! Code...👇🏻
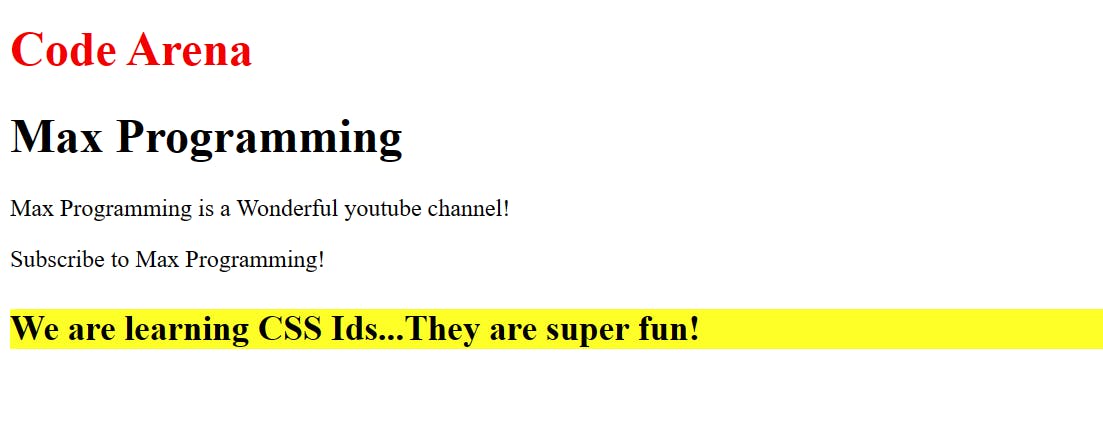
<div id="special-div">
    <h3>We are learning CSS Ids...They are super fun!</h3>
</div>
- This is a normal HTML code with the ID of
special-divand inside it, we have anh3 tagand now we will put some styles in it by CSS...
#special-div {
    background-color: yellow;
    font-size: 20px;
}
- As the CSS classes start with a
.(dot)to style them...Similarly, CSS IDs start from#(hash)...
Here's the output of this code!

And when we see this 👆🏻 in the whole Web Page it looks like this! 👇🏻
- Now, this is the unique element in the whole code...It cannot be reassigned in any other element...😉
Hopefully, you are cleared with it...
And that is it for today guys! If you find this article helpful and fun then do share it with your friends! And don't forget to like it!
I will teach you personally for free in my Twitter DM...If you have any doubts regarding these questions or any questions!
JUST DM ME ON TWITTER AND I'll 100% reply to you and solve your doubt!
Connect with me!
My Twitter Account: 🤜🏻https://twitter.com/AmenaiSabuwala
My Blog: 🤜🏻https://blog.amenas.me/
My YouTube: 🤜🏻Code Arena - YouTube
Share your achievements on Twitter! 💜
And I'll see you all in my next article till then take care and goodbye! 🙌🏻