HTML for Beginners! Part 2 🪐
Today we'll learn about Images, Nesting, Buttons, Input tag and Its types🌄
Table of contents
Heyy Legends! 😎

How are you all doing?! Hope you are doing Great! 💛 And this is my Part-2 for HTML!
You can visit my Part-1 here: Part 1
So Today I am here to Teach you guys Images, Nesting, Buttons, Input tag and Their types.
Images in HTML 🥪
So, for putting images on our website we need the <img> tag which does not have a closing tag like <h1>.
So, let me show you the syntax of the <img> tag!
- Take an image via google and copy the image link.
Like I have taken of Pizza

And let's come to the point that how to upload the image...
And we are having the source attribute and the short we'll use is scr="".
<img src="https://media.istockphoto.com/id/938742222/photo/cheesy-pepperoni-pizza.jpg?s=612x612&w=0&k=20&c=D1z4xPCs-qQIZyUqRcHrnsJSJy_YbUD9udOrXpilNpI=">
In the scr="" the attribute we need to paste the image link and we will be having on our site!! 😉
Hope you understand about images!
LET'S MAKE IT MORE CREATIVE BY ADDING HEADINGS AND PARAGRAPHS!
<h1>Let's eat Pizza!🍕🍕🍕</h1>
<h3>From La'Pinoz pizza</h3>
<p>We'll eat the margherita pizza with some toppings and extra cheese!</p>
<img src="https://media.istockphoto.com/id/938742222/photo/cheesy-pepperoni-pizza.jpg?s=612x612&w=0&k=20&c=D1z4xPCs-qQIZyUqRcHrnsJSJy_YbUD9udOrXpilNpI=" width="90%">
Output:
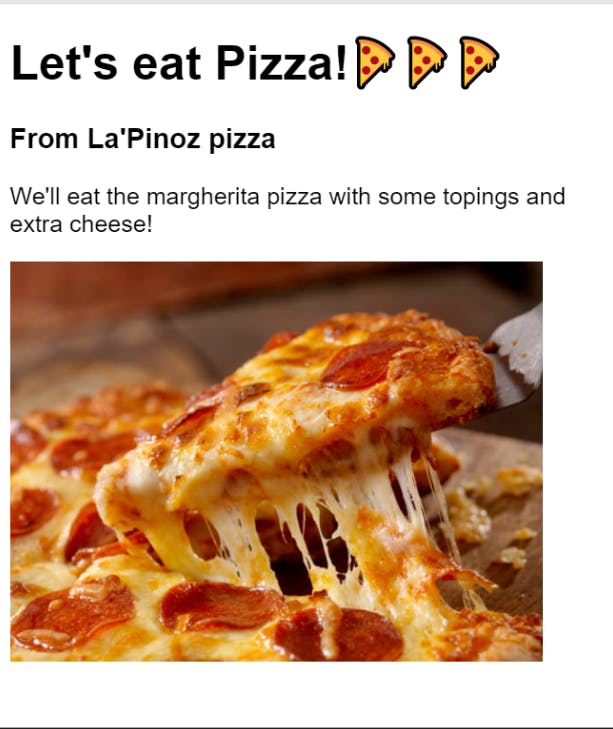
Here I have added a width attribute too. 😉
And I hope you are done with these things! 👆
Nesting🧵
So now, it's time to learn about Nesting which is the last thing in Part 2!!
Like if we want to group all of the HTML elements!
For that, we would use <div> tag which is the divider but I don't like this name so we can tell this is a container!!
Let me show you by example!!
<div>
    <h1>Let's eat Pizza!🍕🍕🍕</h1>
    <h3>From La'Pinoz pizza</h3>
    <p>We'll eat the margherita pizza with some topings and extra cheese!</p>
        <div>
            <img src="https://media.istockphoto.com/id/938742222/photo/cheesy-pepperoni-pizza.jpg?s=612x612&w=0&k=20&c=D1z4xPCs-qQIZyUqRcHrnsJSJy_YbUD9udOrXpilNpI=" width="90%">
        </div>
</div>
Here I have wrapped all of the HTML in a <div> tag and also I have wrapped the <img> tag for readability purposes!!

This is an example from scrimba and this will make it easy for you!
Okay, now I think by seeing this 👆 image you are done with the nesting part and above there is a <a> tag which you haven't learned yet but I will teach about <a> tag in Part 3...
Buttons in HTML 🔘
So today we will be learning about the <button> tag in HTML...

Buttons are required on any website, like buying any product there is a specific button there. And we'll learn that only!
<button>Buy</button>
Output:

Boom💥
Now let me give you a quick challenge!!
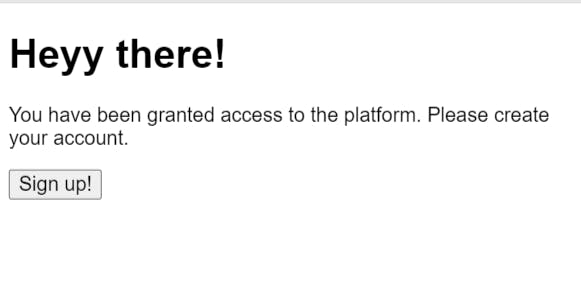
I want you to make this 👆 type of layout!
Input tag 💎
Now, our "Sign up" page is just static but what if we add some functionality to it? Here we use an input tag...
<input type="text" placeholder="Enter username">
Output:

Explanation:
Now, here👆 we have the code of the input tag.
The input tag doesn't have any closing tags like a button tag so it's called as
self-closing tag.Now, that
typeattribute means what type is the input tag, we have set it to text.Here we have the placeholder attribute basically, we can add any text we want...
Let's write the full code:
<h1>Heyy there!</h1>
<p>You have been granted access to the platform. Please create an account</p>
<input type="text" placeholder="Enter username">
<button>Sign up!</button>
Output:
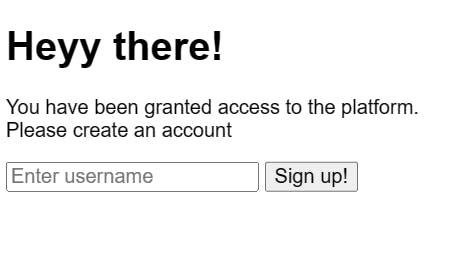
Hopefully, it's clear now! 👆
We can type anything we want inside it Try this out!
Also, we have many types in the input tag... Example:
<h1>Heyy there!</h1>
<p>You have been granted access to the platform. Please create an account</p>
<input type="text" placeholder="Enter username">
<input type="password" placeholder="Enter Password">
<button>Sign up!</button>
Output:
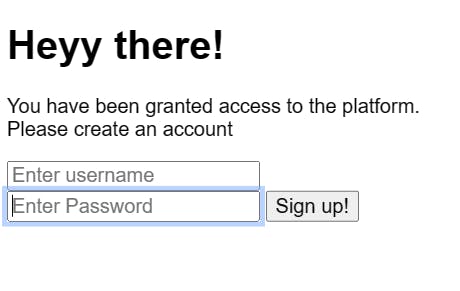
- In this case, we can type the password. It will come out like this 👇

There are many <input> types like:
Input tag types!
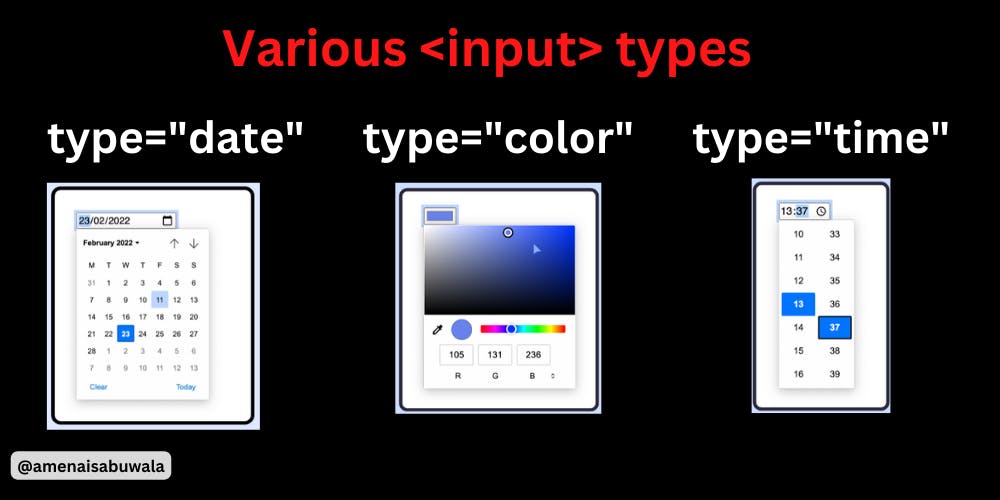
You must check this out👆
My Twitter Account: Twitter
My YouTube Channel: Code Arena
Thank you so much for reading my Part 2.
So, this was my Part 2 which was just for knowledge about HTML and CSS.
Motivation For Today: If you can dream it, you can do it!! 🏃♀️
Now I'll see you all in my Part 3 in which we'll be talking about much more Basics of HTML...
Here's the: Part 3
I will teach you personally for free in my Twitter DM...If you have any doubts regarding these questions or any questions!
JUST DM ME ON TWITTER AND I'll 100% reply to you and solve your doubt!
So till then take care and Goodbye! 😊

