

Heyy Everyone! Amena this side! ❤️🔥
Today we're LEARN FULL HTML In just.... 12 MINUTES! 🤯
So let's get Started!
Get Started! 🚀
Chapter 1️⃣
There will be just 5 Chapters! I will give my 100% to teach u guys in a very easy and creative way! ✨
About HTML and CSS🍕
So basically HTML is Hypertext Markup Language..... I know it seems boring but let's make it creative....😀
So basically, 👆 HTML5 is the latest version that we use nowadays, and CSS3 is also the latest one!
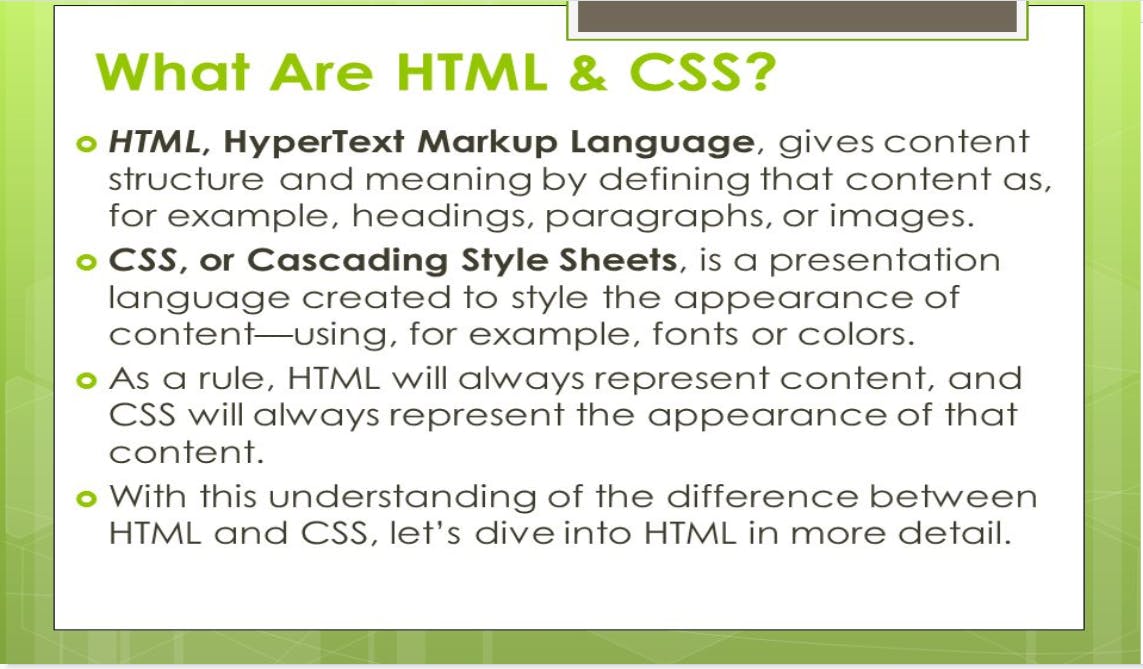
So, you need to read this out and let me explain it in just one line: Basically, HTML is the Structure of the website and CSS is the Presentation of the website...
But you don't need to worry about CSS right now😉
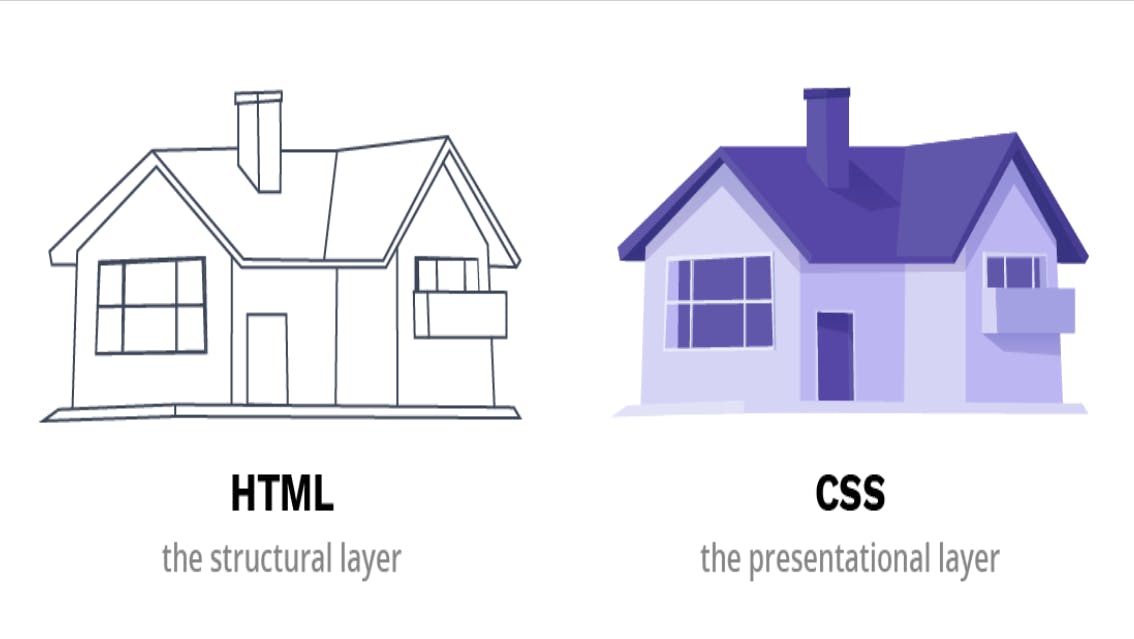
Now I think by seeing this image,👆 you are done about the basic things about HTML...😎
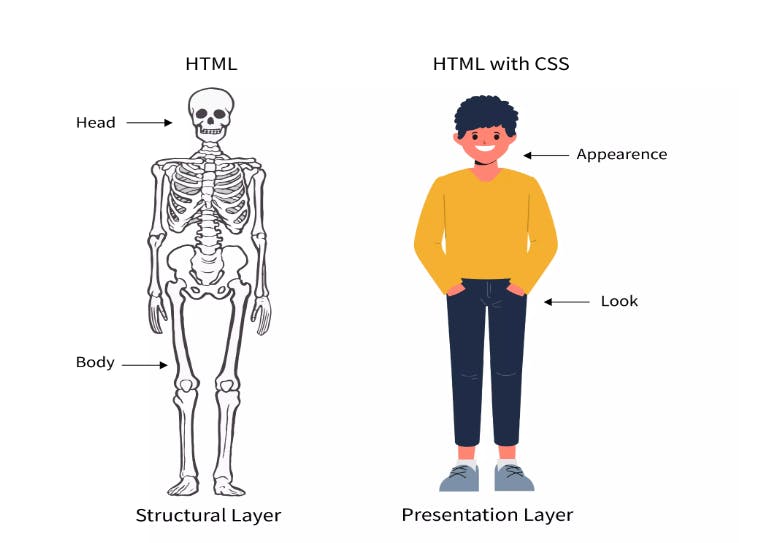
And finally, this is 👆 something that can help you with HTML and CSS!!
Meme on HTML and CSS 😅
Okay, let's have a small meme on HTML and CSS 👇
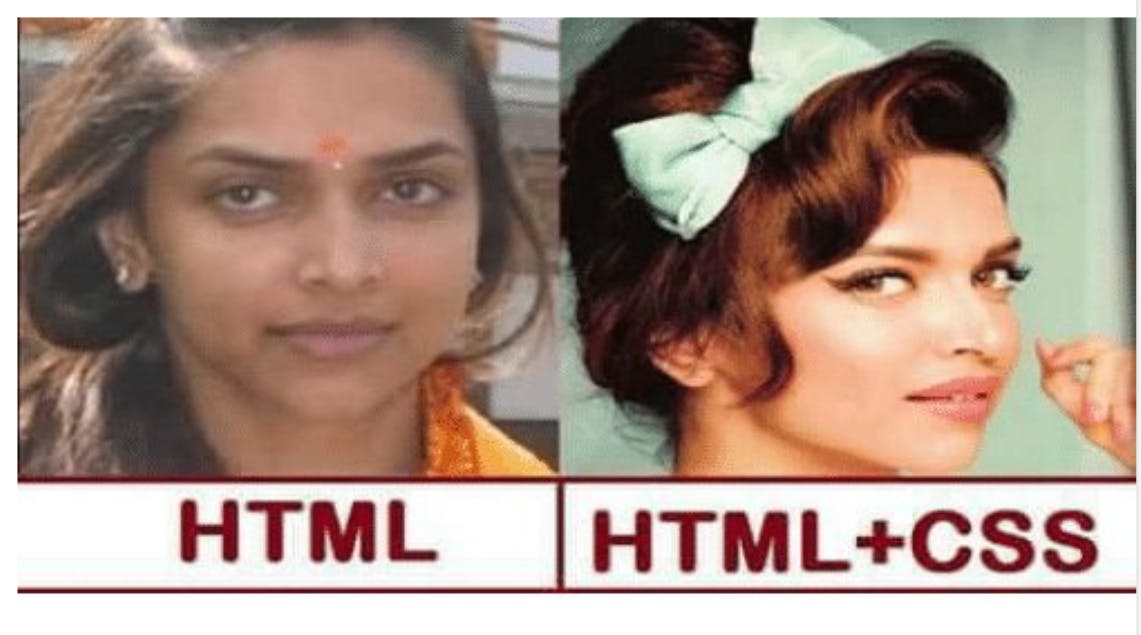
So now I think you are completely done with HTML and CSS knowledge!! 😂
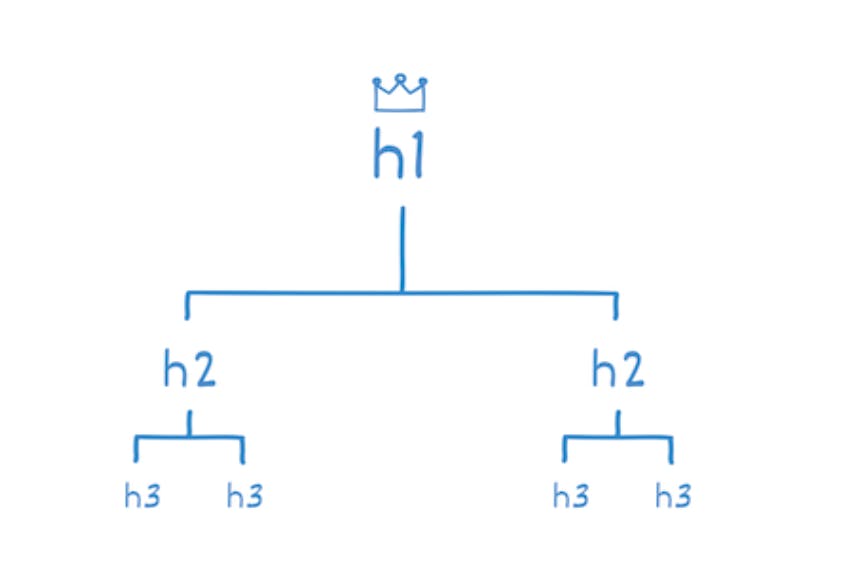
Now we're gonna learn about <h1> to <h6> tags and <p> tag
Basic things about VS code🏈
So, I am using VS code which is the easiest way to write your code!!
In HTML we are having a boilerplate which is the most important thing and gives a professional vibe! 😉
So, I will start by making an HTML file called "index.html"
In VS code we're having a special thing for having a boilerplate if we just hit ! then we'll be having our boilerplate ready!! 😎
Let's hit!
!
Result 👇
<!DOCTYPE html>
<html lang="en">
<head>
    <meta charset="UTF-8">
    <meta http-equiv="X-UA-Compatible" content="IE=edge">
    <meta name="viewport" content="width=device-width, initial-scale=1.0">
    <title>Document</title>
</head>
<body>

</body>
</html>
And BOOM💥!
Our Boiler Plate is ready!!
Basic Syntax of HTML🏉
In HTML we will be writing our code in the <body> tag!
So let's begin!!
To have a Heading on our website we use the <h1> tag... Now you might wonder what is <h1> tag is.
It's just heading 1
Let me show you an example of it:
<h1>Practice makes Perfect</h1>
Output:

BOOM💥
And make sure you need to write this code in your <body> tag.
Similarly, like <h1> tag we are having 5 more tags like <h2> , <h3> , <h4> , <h5> , <h6>.
Check all the tags and see what happens...
Quick Example
Now I think this topic is clear for all beginners! 😊
Example:

This is an example of how you can understand tags. This <p> tag is just a Paragraph tag and in this tag, you can write your paragraphs! 😉
Chapter 2️⃣
Images in HTML 🥪
So, for putting images on our website we need the <img> tag which does not have a closing tag like <h1>.
So, let me show you the syntax of the <img> tag!
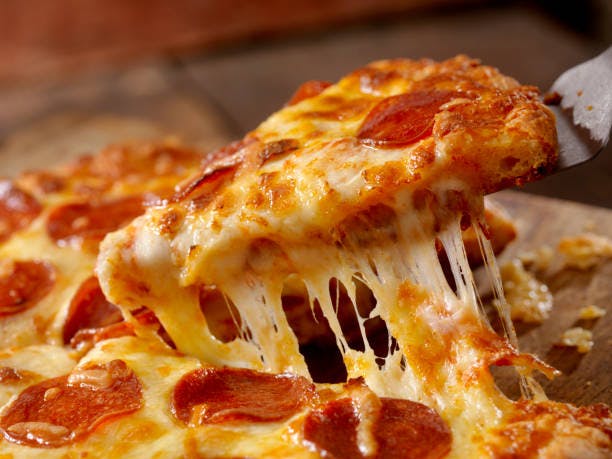
- Take an image via google and copy the image link.
Like I have taken of Pizza
And let's come to the point that how to upload the image...
And we are having the source attribute and the short we'll use is scr="".
<img src="https://media.istockphoto.com/id/938742222/photo/cheesy-pepperoni-pizza.jpg?s=612x612&w=0&k=20&c=D1z4xPCs-qQIZyUqRcHrnsJSJy_YbUD9udOrXpilNpI=">
In the scr="" the attribute we need to paste the image link and we will be having on our site!! 😉
Hope you understand about images!
LET'S MAKE IT MORE CREATIVE BY ADDING HEADINGS AND PARAGRAPHS!
<h1>Let's eat Pizza!🍕🍕🍕</h1>
<h3>From La'Pinoz pizza</h3>
<p>We'll eat the margherita pizza with some toppings and extra cheese!</p>
<img src="https://media.istockphoto.com/id/938742222/photo/cheesy-pepperoni-pizza.jpg?s=612x612&w=0&k=20&c=D1z4xPCs-qQIZyUqRcHrnsJSJy_YbUD9udOrXpilNpI=" width="90%">
Output:
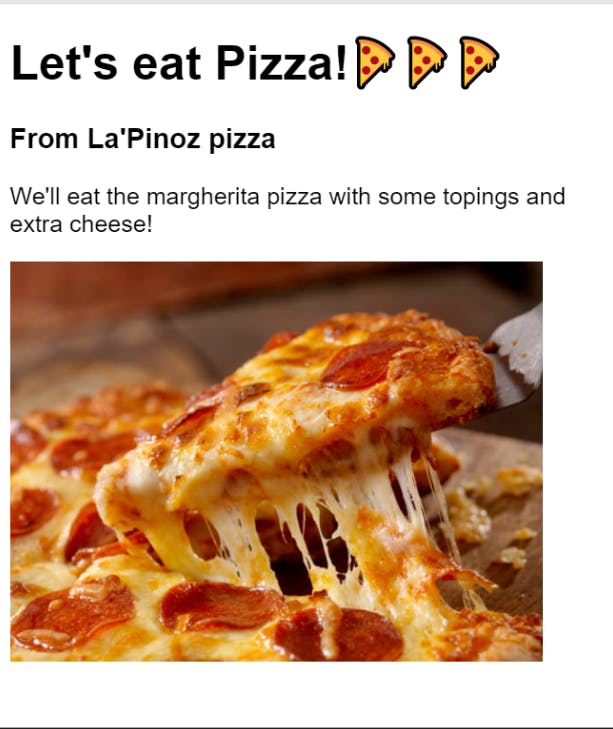
Here I have added a width attribute too. 😉
And I hope you are done with these things! 👆
Nesting🧵
So now, it's time to learn about Nesting which is the last thing in Part 2!!
Like if we want to group all of the HTML elements!
For that, we would use <div> tag which is the divider but I don't like this name so we can tell this is a container!!
Let me show you by example!!
<div>
    <h1>Let's eat Pizza!🍕🍕🍕</h1>
    <h3>From La'Pinoz pizza</h3>
    <p>We'll eat the margherita pizza with some topings and extra cheese!</p>
        <div>
            <img src="https://media.istockphoto.com/id/938742222/photo/cheesy-pepperoni-pizza.jpg?s=612x612&w=0&k=20&c=D1z4xPCs-qQIZyUqRcHrnsJSJy_YbUD9udOrXpilNpI=" width="90%">
        </div>
</div>
Here I have wrapped all of the HTML in a <div> tag and also I have wrapped the <img> tag for readability purposes!!

This is an example from scrimba and this will make it easy for you!
Okay, now I think by seeing this 👆 image you are done with the nesting part and above there is a <a> tag which you haven't learned yet but I will teach about <a> tag in Part 3...
Buttons in HTML 🔘
So today we will be learning about the <button> tag in HTML...

Buttons are required on any website, like buying any product there is a specific button there. And we'll learn that only!
<button>Buy</button>
Output:
Boom💥
Now let me give you a quick challenge!!
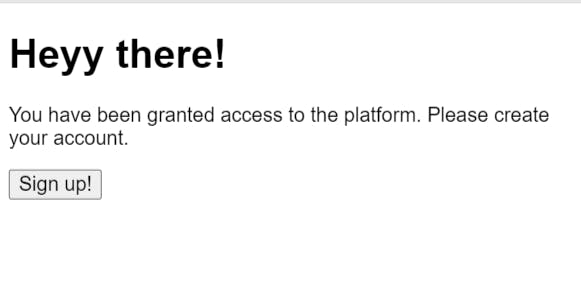
I want you to make this 👆 type of layout!
Input tag! 💎
Now, our "Sign up" page is just static but what if we add some functionality to it? Here we use an input tag...
<input type="text" placeholder="Enter username">
Output:

Explanation:
Now, here👆 we have the code of the input tag.
The input tag doesn't have any closing tags like a button tag so it's called as
self-closing tag.Now, that
typeattribute means what type is the input tag, we have set it to text.Here we have the placeholder attribute basically, we can add any text we want...
Let's write the full code:
<h1>Heyy there!</h1>
<p>You have been granted access to the platform. Please create an account</p>
<input type="text" placeholder="Enter username">
<button>Sign up!</button>
Output:
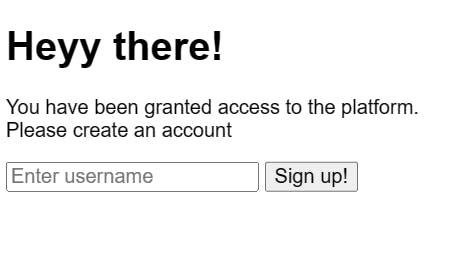
Hopefully, it's clear now! 👆
We can type anything we want inside it Try this out!
Also, we have many types in the input tag... Example:
<h1>Heyy there!</h1>
<p>You have been granted access to the platform. Please create an account</p>
<input type="text" placeholder="Enter username">
<input type="password" placeholder="Enter Password">
<button>Sign up!</button>
Output:
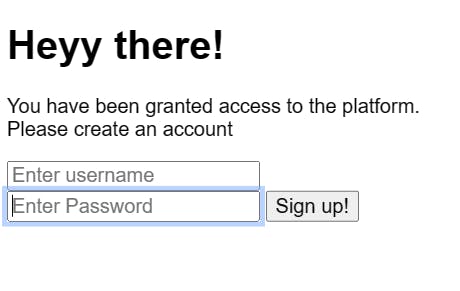
- In this case, we can type the password. It will come out like this 👇

There are many <input> types like:
Input tag types!
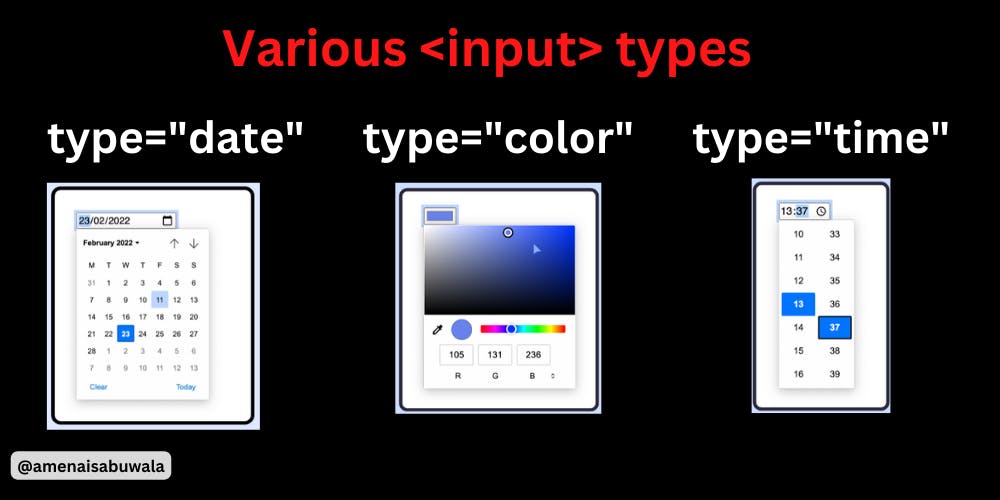
You must check this out👆
Chapter 3️⃣
Basic Tags in HTML ✨
<br> tag ❤️🔥

<h1>We are Learning br tag</h1>
<br />
<p>I am Amena</p>
OUTPUT:
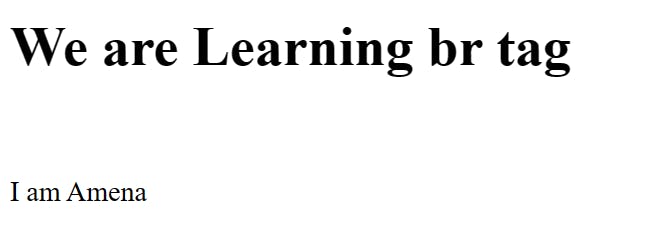
Hopefully, you're cleared with it! ❤️🔥
<b> tag! 🚀
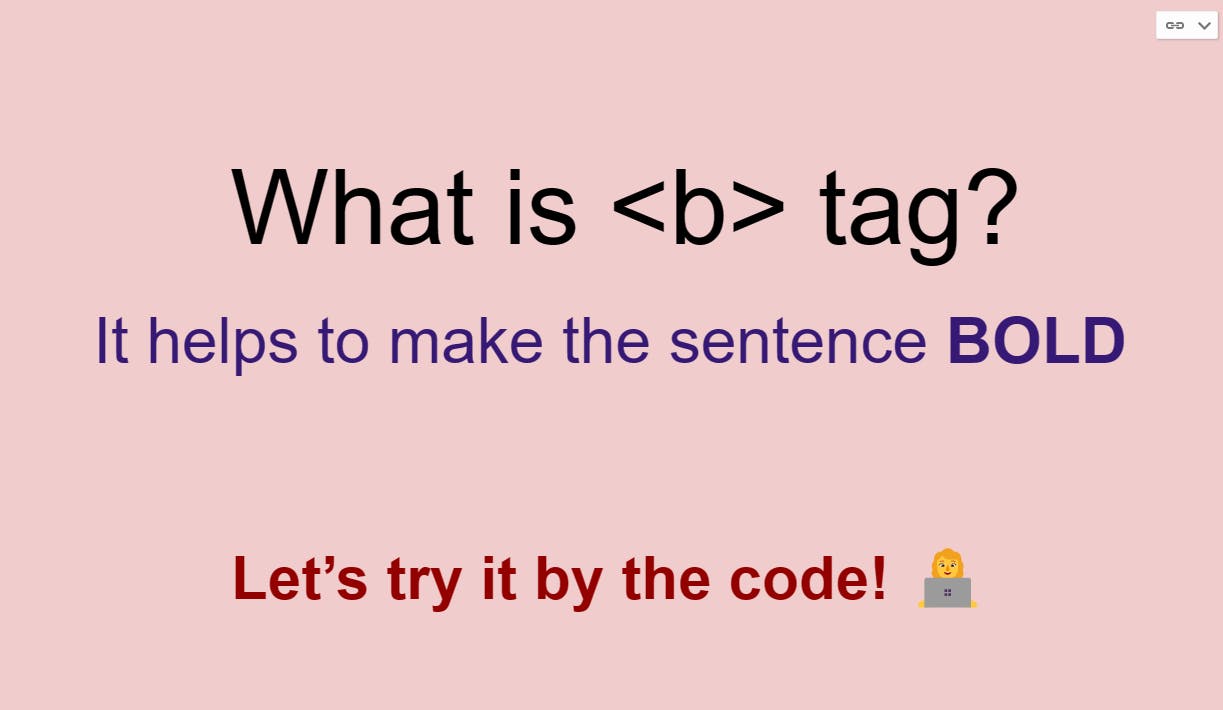
<p>My YouTube Channel's name is <b>Code Arena</b></p>
OUTPUT:

Hopefully, you're cleared with it! 🚀
<i> tag! 💎
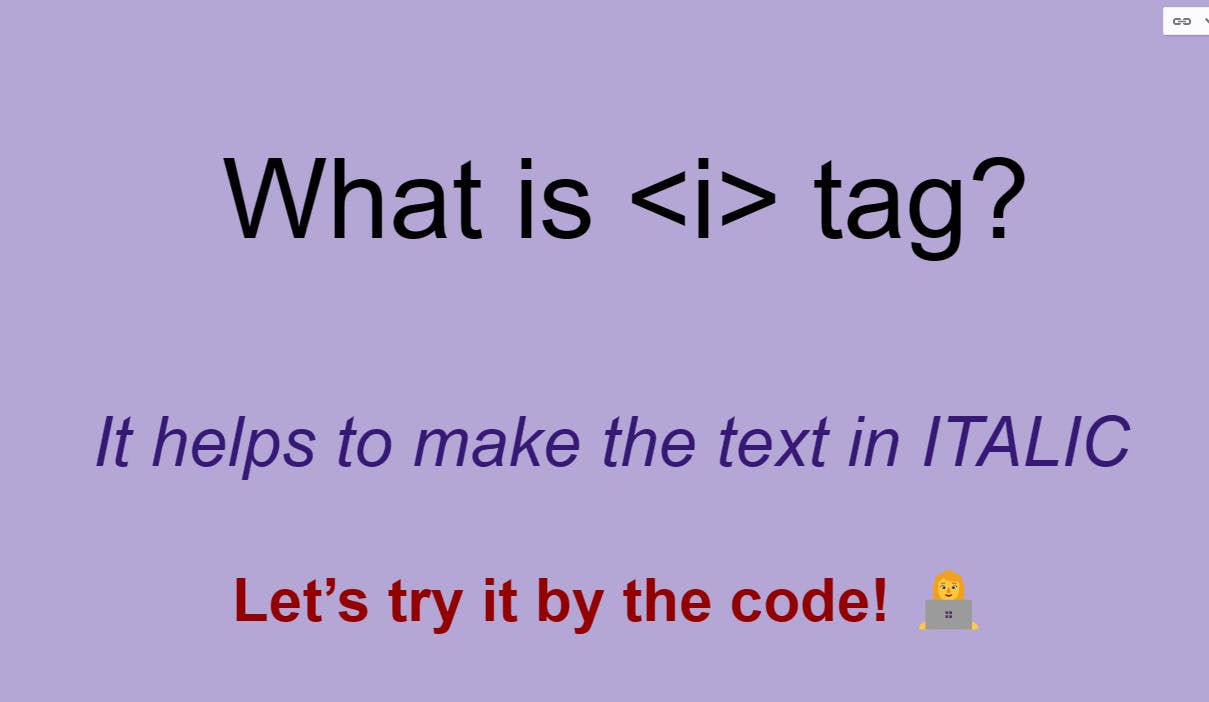
<p>My YouTube Channel's name is <i>Code Arena</i></p>
OUTPUT:

Hopefully, you're cleared with it! 💎
<u> tag! 🎯

<p>My YouTube Channel's name is <u>Code Arena</u></p>
OUTPUT:

Hopefully, you're cleared with it! 🎯
<big> tag! 🎡
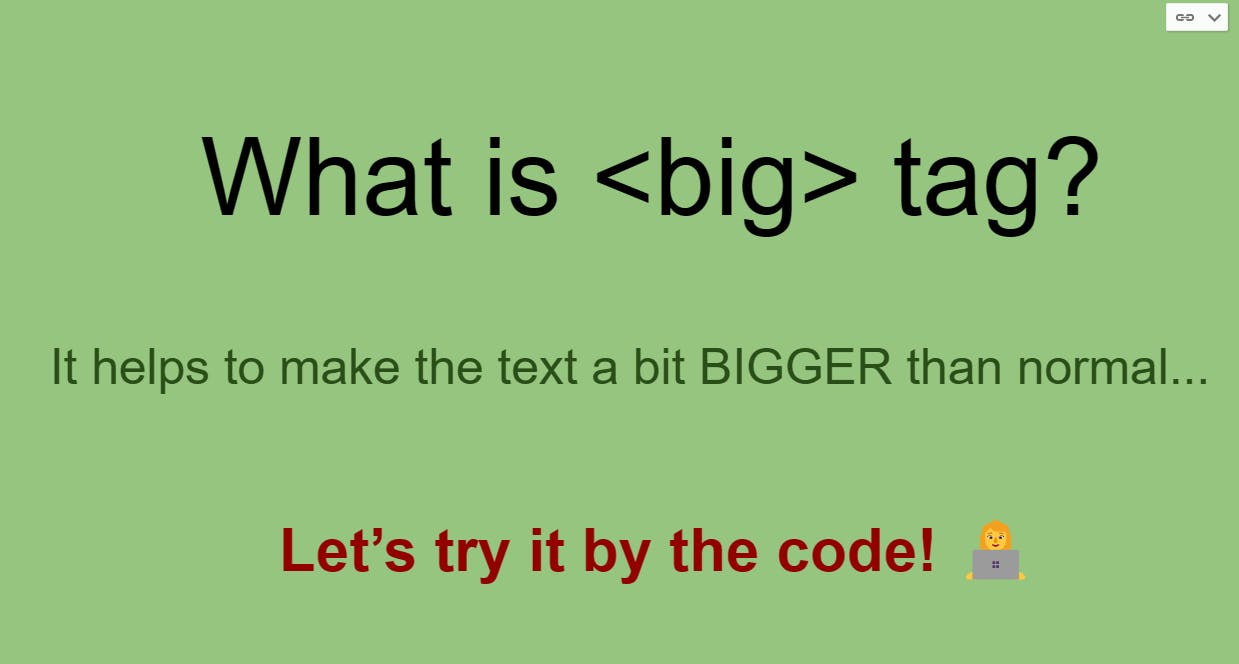
<p>My YouTube Channel's name is <big>Code Arena</big></p>
OUTPUT:

Hopefully, you're cleared with it! 🎡
<small> tag! 👻

<p>My YouTube Channel's name is <small>Code Arena</small></p>
OUTPUT:

Hopefully, you're cleared with it! 👻
<hr> tag! 💚

<p>My YouTube Channel's name is <b>Code Arena</b></p>
<p>My YouTube Channel's name is <i>Code Arena</i></p>
<p>My YouTube Channel's name is <u>Code Arena</u></p>
<p>My YouTube Channel's name is <big>Code Arena</big></p>
<p>My YouTube Channel's name is <small>Code Arena</small></p>
<hr />
OUTPUT:
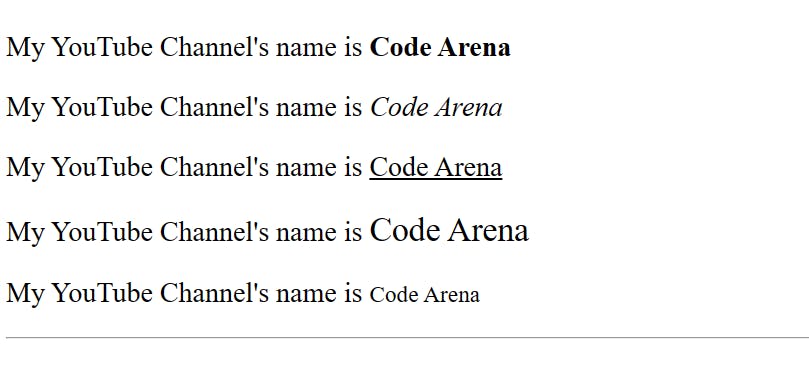
Hopefully, you're cleared with it! 💚
<sub> tag! 🎃

<p>O<sub>2</sub></p>
OUTPUT:

Hopefully, you're cleared with it! 🎃
<sup> tag! 🏏
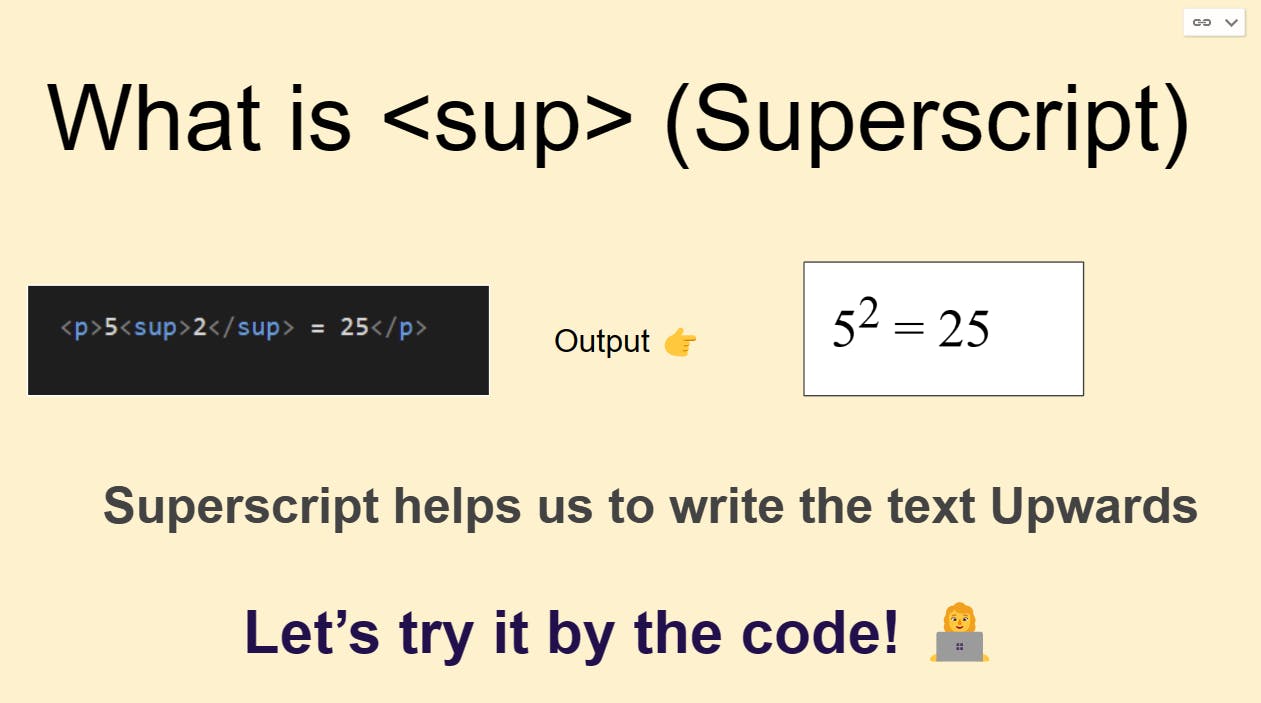
<p>5<sup>2</sup> = 25</p>
OUTPUT:
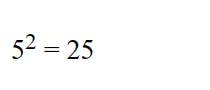
Hopefully, you're cleared with it! 🏏
<nav> tag! ✨

What is a nav tag? It's just like a <div> tag but with a different name!
In the eg. shown above, when we see such options above our screen this is a nav tag, We can div tag also but recommended is a nav tag! 🔥
Hopefully, you're cleared with it! ✨
Chapter 4️⃣
Anchor Tags (LINKS in HTML)
Okay, now we'll talk about "<a>" tags means Anchor tags are LINKS!
Example:
<a href="https://www.youtube.com">Click here</a>
So, here we have created an "Anchor Tag" and in it, I have written "href" which is used to connect the links and I have linked it to YouTube!!
Let me show the OUTPUT...
OUTPUT of this code: 👇

If we click here then we'll be on YouTube isn't it amazing! 😍
Let's do something fun:
    <h2>I want to eat PIZZA let me find the Recipe! 😉</h2>

    <h3>Let's search in YouTube!! 🙌</h3>
    <a href="https://www.youtube.com">Click here</a>
OUTPUT:

Hopefully, you understood the concept of creating links!
I want you to write these things and understand!
Open the link in the new tab
<a href="https://www.youtube.com" target="_blank">Click here</a>
If you want to open this link in the new tab you can use "target_blank"
I know it's weird but it is what it is...
Proper Structure in HTML
As you all know nowadays we use HTML5 which is the latest version of HTML.
So, the proper structure will be:
<!DOCTYPE html>
<html lang="en">
<head>
    <meta charset="UTF-8">
    <meta http-equiv="X-UA-Compatible" content="IE=edge">
    <meta name="viewport" content="width=device-width, initial-scale=1.0">
    <title>Document</title>
</head>
<body>

</body>
</html>
If you use VS code so you can just hit "!" then you will see this whole thing because professionals do like this...
Lists In HTML

So, there are two types of lists: 1. ordered list & 2. unordered list.
The short for the ordered list is: <ol> tag
The short for the unordered list is: <ul> tag
Inside these lists, there are LIST ITEMS: <li> tag
Ordered Lists
    <!-- Ordered List -->
    <ol>
        <li>Ludo</li>
        <li>Chess</li>
        <li>Monopoly</li>
        <li>Game of Life</li>
    </ol>
Output: 👇
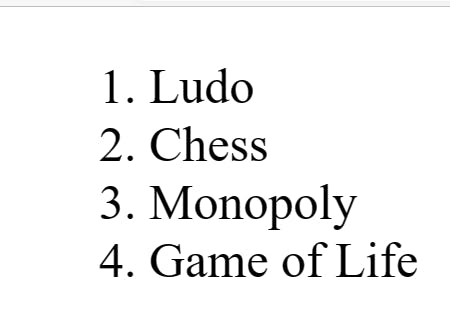
- The code I have written is so simple and normal*...*
Basically, In the Ordered list, there is a condition and in that condition, it automatically provides the numbers like 1......2.....3.....so on!
Unordered Lists
    <!-- Unordered List -->
    <ul>
        <li>Ludo</li>
        <li>Chess</li>
        <li>Monopoly</li>
        <li>Game of Life</li>
    </ul>
In this code, there is the condition that if we write an Unordered list It will Output like this! 👇

Hopefully, You understood Lists in HTML...
Task 🚀
You need to make an Unordered list and Inside it, you need to write your Top 3 favorite Desserts! 🍰.....Best of luck!
Chapter 5️⃣
Today is the last CHAPTER of this HTML course and if you do all 5 CHAPTERS then you are the Master of HTML basics and you will be provided a CERTIFICATE! 🌟
Today we are gonna make our Personal WEB Page with just HTML...
Get Started with the LAST CHAPTER! 💎

this 👆 is the page that we will make for your practice.
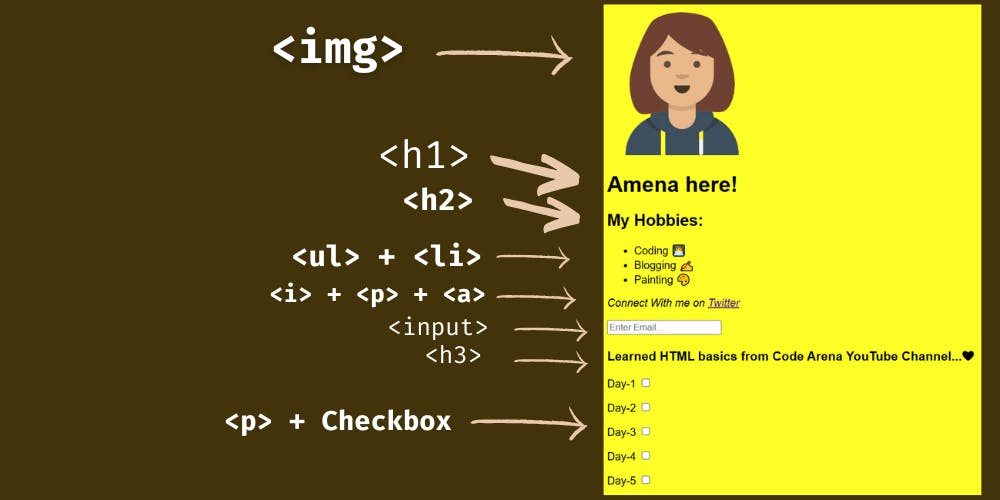
Steps to make this!
Image tag! 🔥
Firstly we're having Image so We'll use <img> tag for it!
<img src="https://pbs.twimg.com/profile_images/1493870669561483264/orRE78cy_400x400.jpg" width="20%">
This is the link to my Profile pic and I have set the width to 20%...Easy Pizzy!
OUTPUT:

Heading! 👑
- After that, We have the Heading tag so we'll use <h1> tag!
<img
  src="https://pbs.twimg.com/profile_images/1493870669561483264/orRE78cy_400x400.jpg"
  width="20%"
>

<h1>Amena here!</h1>
OUTPUT:

Hopefully, you understood!
Heading 2 🏈
- After this, we're having Heading 2 so we'll use <h2> tag...
    <img src="https://pbs.twimg.com/profile_images/1493870669561483264/orRE78cy_400x400.jpg" width="20%">

<h1>Amena here!</h1>

<h2>My Hobbies: </h2>
OUTPUT:

We're perfectly done!
Lists! 📃
- After that, we're having LISTS so we'll use <ul> + <li> tag :
<img src="https://pbs.twimg.com/profile_images/1493870669561483264/orRE78cy_400x400.jpg" width="20%">
<h1>Amena here!</h1>
<h2>My Hobbies: </h2>
<ul>
<li>Coding 👩💻</li>
<li>Blogging ✍</li>
<li>Painting 🎨</li>
</ul>
OUTPUT:
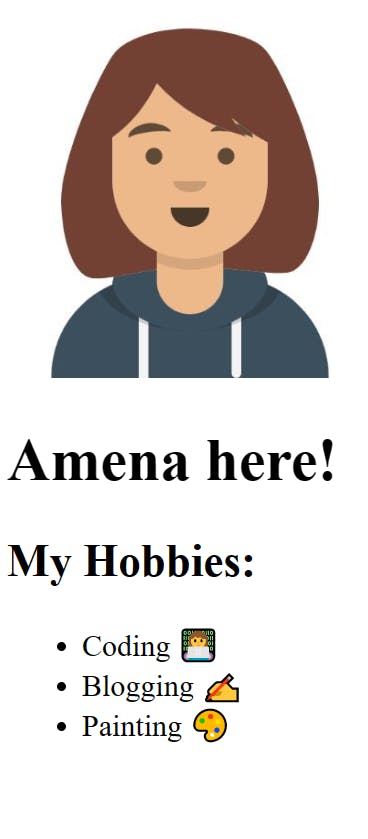
Boom!! 💥
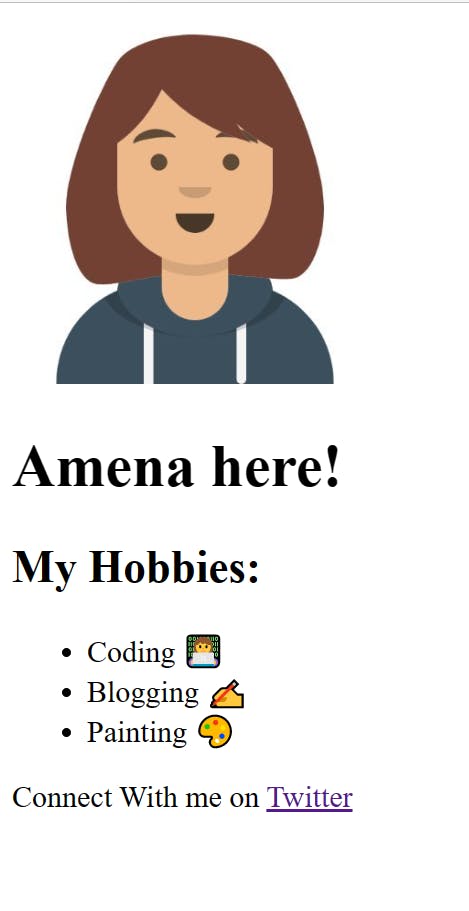
Link! 🔗
- Now we have LINK ... Let's do it!
<img src="https://pbs.twimg.com/profile_images/1493870669561483264/orRE78cy_400x400.jpg" width="20%">
<h1>Amena here!</h1>
<h2>My Hobbies: </h2>
<ul>
<li>Coding 👩💻</li>
<li>Blogging ✍</li>
<li>Painting 🎨</li>
</ul>
<p> Connect With me on <a href="https://twitter.com/AmenaiSabuwala" target="_blank">Twitter</a>
</p>
OUTPUT:
Input tag! 💯
Now we have the INPUT TAG!
Code here! 👇🏻
<h1>Amena Here!</h1>
<h2>My Hobbies:</h2>
<ul>
<li>Coding 👩💻</li>
<li>Painting 🎨</li>
<li>Blogging! ✍</li>
<li>Teaching!</li>
</ul>
<p>
<i>Connect with me on</i>
<a href="https://twitter.com/AmenaiSabuwala" target="_blank"
><i>Twitter</i></a
>
</p>
<input type="text" placeholder="Enter Email..." />
OUTPUT: 👇🏻

H3 tag! 🪩
Now we have H3 tag!
Code here: 👇🏻
<h1>Amena Here!</h1>
<h2>My Hobbies:</h2>
<ul>
<li>Coding 👩💻</li>
<li>Painting 🎨</li>
<li>Blogging! ✍</li>
<li>Teaching!</li>
</ul>
<p>
<i>Connect with me on</i>
<a href="https://twitter.com/AmenaiSabuwala" target="_blank"
><i>Twitter</i></a
>
</p>
<input type="text" placeholder="Enter Email..." />
<h3>Learned HTML basics from Code arena YouTube Channel...❤</h3>

P tag + Checkbox ⏹️
Now we need to make the Checkboxes as shown in the picture!
Code here: 👇🏻
    <p>Day 1 <input type="checkbox" /></p>
    <p>Day 2 <input type="checkbox" /></p>
    <p>Day 3 <input type="checkbox" /></p>
    <p>Day 4 <input type="checkbox" /></p>
    <p>Day 5 <input type="checkbox" /></p>
This is the code of Checkboxes! 👆🏻
OUTPUT:

Web page OUTPUT: 👇🏻

Now in the picture, we have some different FONTS and COLORS
We are going to add a PINCH of CSS...
Add a Pinch of CSS 🎨
So if you haven't learned CSS yet so you just need to IGNORE THESE LINES...✨
Changing Font and Background color! 🖌️
CSS Code here! 👇🏻
Write in ur HTML file only! So Simple code! 👑
   <!-- Ignore this line.. -->

    <style>
      body {
        font-family: sans-serif;
        background-color: thistle;
      }
    </style>
You can set any Background color u want! Your Choice! 👑✨
And I have chosen THISTLE color! 💜
OUTPUT: 👇🏻

And we are completely DONE...🥳🥳
FINAL CODE 🧑🏻💻
Now, I have written all the code without the Boilerplate coz it's an article but in the real world, you need to write it in the Boilerplate...
Lemme show you the FINAL CODE...
<!DOCTYPE html>
<html lang="en">
<head>
<meta charset="UTF-8" />
<meta http-equiv="X-UA-Compatible" content="IE=edge" />
<meta name="viewport" content="width=device-width, initial-scale=1.0" />
<title>Personal Page!</title>
</head>
<body>
<div>
<img src="avatar.png" width="15%" />
</div>
<h1>Amena Here!</h1>
<h2>My Hobbies:</h2>
<ul>
<li>Coding 👩💻</li>
<li>Painting 🎨</li>
<li>Blogging! ✍</li>
<li>Teaching!</li>
</ul>
<p>
<i>Connect with me on</i>
<a href="https://twitter.com/AmenaiSabuwala" target="_blank"
><i>Twitter</i></a
>
</p>
<input type="text" placeholder="Enter Email..." />
<h3>Learned HTML basics from Code arena YouTube Channel...❤</h3>
<p>Day 1 <input type="checkbox" /></p>
<p>Day 2 <input type="checkbox" /></p>
<p>Day 3 <input type="checkbox" /></p>
<p>Day 4 <input type="checkbox" /></p>
<p>Day 5 <input type="checkbox" /></p>
<!-- Ignore this line.. -->
<style>
body {
font-family: sans-serif;
background-color: thistle;
}
</style>
</body>
</html>
Okay, Then we're perfectly done with our Project!! 🥳
I CHALLENGE you to make yours...And post it on Twitter! 💙
My Twitter Account: Twitter
My YouTube Channel: Code Arena
Thank you so much for reading this article! And this was your practice in HTML...Now I am coming with the CSS Course Soon...❤
If you have any doubts please mention them in the comments below!
Certificate of completion! 🎉
And also If u complete this Personal Web Page with HTML and a Pinch of CSS then u will be provided a CERTIFICATE...🥳
This kind of Certificate will be provided! 👇🏻

Rules are:
JUST DM ME ON MY TWITTER ACCOUNT AND SEND ME THE SOURCE CODE OF IT...
I will teach you personally for free in my Twitter DM...If you have any doubts regarding these questions or any questions!
JUST DM ME ON TWITTER AND I'll 100% reply to you and solve your doubt!
And I will see you in my CSS course! Till then Take care and Bye! 💜